|
Techniques: Tutorial for Deep Sky Image Processing | |
| HOME Best Lunar Planets Deepsky Misc Equipment Techniques Links |
|
On these pages I present a brief tutorial of how to process Deep Sky Images using Peter Katreniak's K3CCDTools astro software and The Gimp image processing software.
Click each picture to see the full-size version. |
1. Dark FrameThe first step is to create a dark image that will be subtracted from each frame of the real image. This assumes you captured some dark frames at the time you were capturing the original frames. If you didn't then skip this step and move on to step two. | |
|
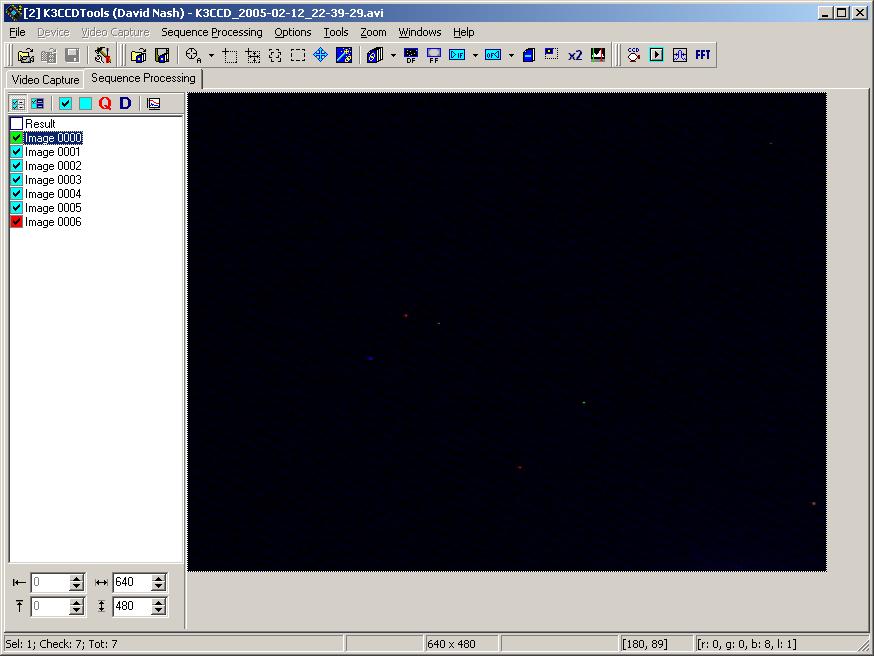
| A Dark Frame is captured with the camera lens (or telescope) covered, so that no light at all is captured. The idea of creating the dark frame is that it contains everything you don't want in your image. In theory it is completely black, however in practice it will contain some bright pixels (caused by defects in the CCD image sensor, and perfectly normal) known as "hot pixels" and, depending on exposure and gain setting, some glow from the CCD on-chip image amplifier. These will also be present in the image frames, and can be effectively removed by subtracting a dark frame from each image frame before stacking. The dark frames must be the same size as the image frames, and must be captured under the same conditions. |
|
Because hot pixels can increase as the night progresses, it is best to capture dark frames at the end of an imaging session, either in a new AVI, or at the end of an imaging run.
To create the dark image we are going to stack all the dark frames as they are, with no alignment. This reduced unwanted noise in the dark frames, which can suffer from noise just as much as image frames. To do so, start K3CCDTools, select the Sequence Processing tab, and open the AVI or files containing dark frames. Click the toolbar button showing a single dashed rectangle - this selects the whole of each frame ready for stacking. If the dark frames were in the same AVI as the light frames containing the intended target, manually uncheck all the non-dark frames. Finally click the "Stack Frames" button, and the selected frames will be combined into a final dark frame. Save it in TIF16 format using a suitable name (like "dark.tif"). | |
2. Select Frames
|
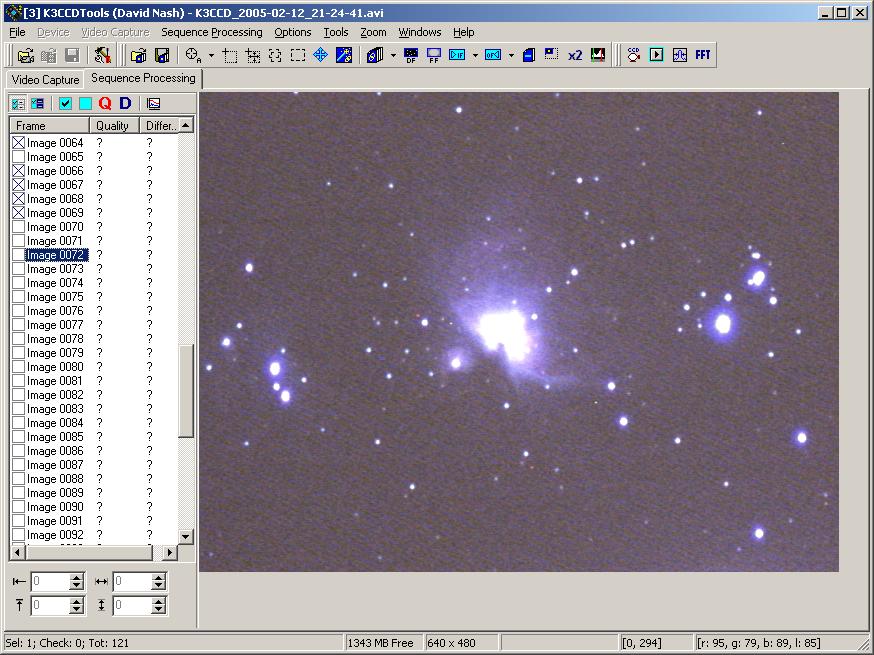
Now it is time to load the frames containing the actual pictures. In this case I am using a picture of the Orion Nebula as an example.
Load the AVI containing the frames - if you already have it loaded for the dark frames I recommend you close it and reopen it at this stage. All the frames will be listed in the column on the left. Click the first one and move through the frames checking them for low quality, satellites, aeroplanes or other problems. Undesirable frames can be deselected by pressing the minus key, which will cause a cross to appear in the box in the frame list. Be warned that any frames deselected in this way are permanently removed from processing unless you reopen the file and start again. |
NEXT > | |
|
|
|
 |
|
| All text and images copyright and may not be used without permission |
|