1. Capture
By definition, narrowband filters capture less light than standard colour filters. This means that longer exposures are required to capture a decent view of an object. This makes focussing more difficult.
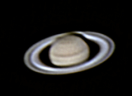
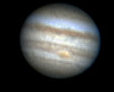
Once the best possible focus has been achieved, I capture as many as I can of as long an exposure as possible. All images on this page were captured using my Atik 16HR camera with my Megrez 80 Super Apo telescope.
2. Initial Processing
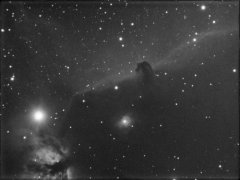
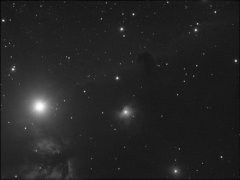
Here is a processed stack of H-alpha frames of B33, the Horsehead Nebula in Orion. This stack is composed of 11 4-minute images, aligned and stacked using Deep Sky Stacker. After stacking it was stretched and contrast-enhanced using PixInsight LE.
3. Colour Combining
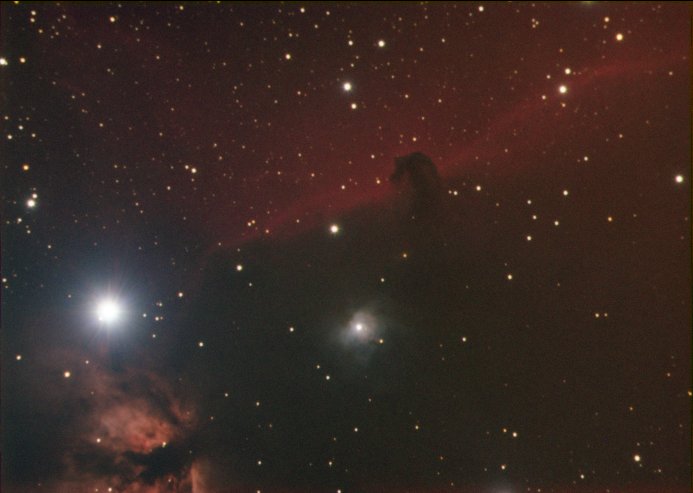
Red, green, and blue frames were stacked and stretched as usual. Then they were combined in Registax 4 to produce a composite RGB image as described on the LRGB page:
4. Use the H-Alpha as Luminance
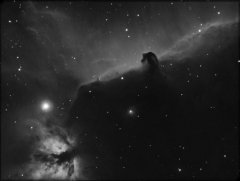
The RGB image and the H-Alpha image are loaded into The Gimp, aligned and composed to form a composite L-RGB image.
- Make a copy of the H-Alpha image and set the image mode to RGB (it will be monochrome)
- Blur the colour image slightly by applying a gaussian blur of around 5 pixels. Increase the saturation of this image.
- Copy the colour image using Edit->Copy, then move to the luminance image and use Edit->Paste to insert it as a new layer. In The Gimp you must then click the new layer button to make the pasted selection a permanent layer.
- Align the colour layer with the luminance underneath - I like to do this by setting the layer mode to "Difference" and using the move tool to move it around until the image is as black as possible. Then set the layer mode to "Colour".
- Depending on the image, you may want to reduce the opacity to something less than 100%. Some people like to reduce it to 50%, process the image further and then apply luminance over the top (In The Gimp use layer mode "Value").
- Save image.
5. Add H-Alpha to Red (optional)
Since the H-Alpha light is in the red band, it can be beneficial to add some H-Alpha colour to the red channel. There are several ways to do this, including adjusting the red channel before composing the RGB image. I frequently like to do it at this stage using the "screen" layer mode as follows:
- With the H-alpha/RGB image in the Gimp as two layers (H-alpha and RGB), click the H-alpha layer and duplicate the layer. The top layer will stay as luminance (Value in The Gimp), the other layer will be added to the red.
- Change this lower H-alpha layer mode to "Screen".
- Now we must colorise the layer red. Choose Layer->Color->Colorize. In the dialog box choose Hue 0, lightness 0, saturation 100.
- Adjust the layer transparency to achieve a good colour.
6. Final Post-processing
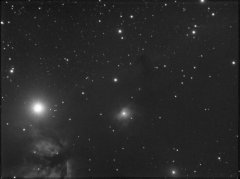
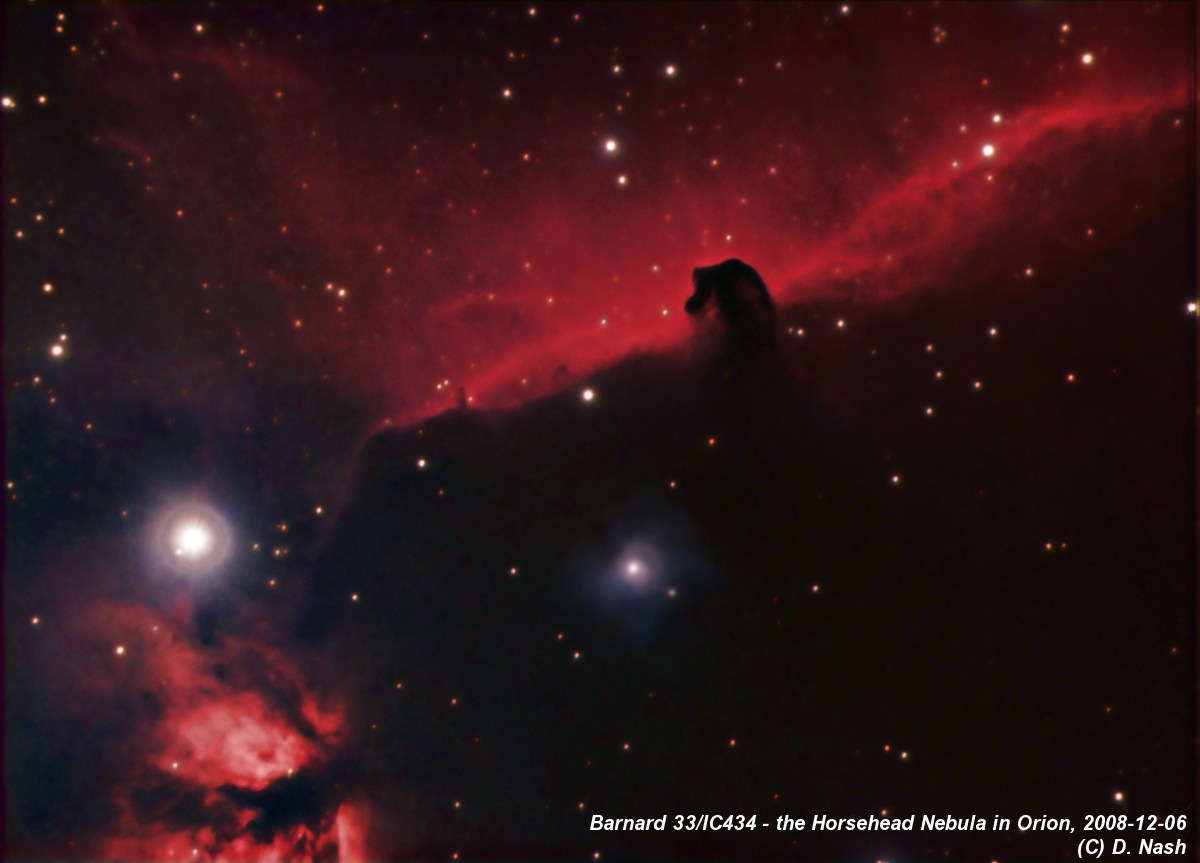
Finally, I use The Gimp and/or PixInsight LE to adjust colour balance, reduce noise, and any final tweaks to the image.
| H-alpha/RGB Combined and Processed - click for full size |
 |
|